Master Strapping: Guide to Tensioner and Sealer Tool Use

Industrial Strapping Tools and Machinery: A Complete Guide
March 20, 2026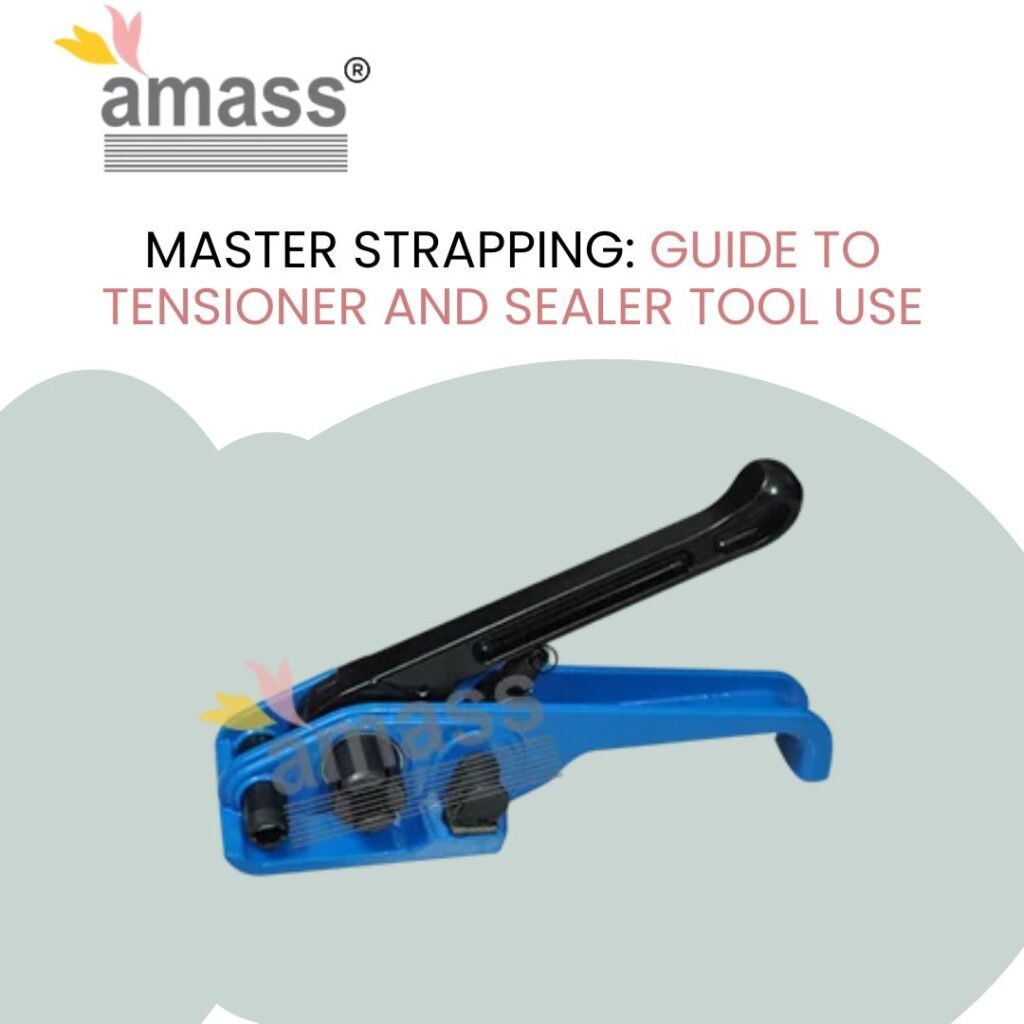
Most strapping failures trace back to tool misuse, not bad strap. Operators thread strap incorrectly, release tension too early, crimp seals off-center, or use worn-out tools without noticing the difference. The load ships looking fine, then arrives loose, damaged, or rejected. Correcting technique across a packing team—not replacing strap—solves that.
This guide walks through how tensioners and sealers work, the exact steps to apply them correctly on PET, PP, and steel strapping, the mistakes that cut joint strength by 20–40%, and the safety and maintenance practices that keep tools performing over thousands of cycles.
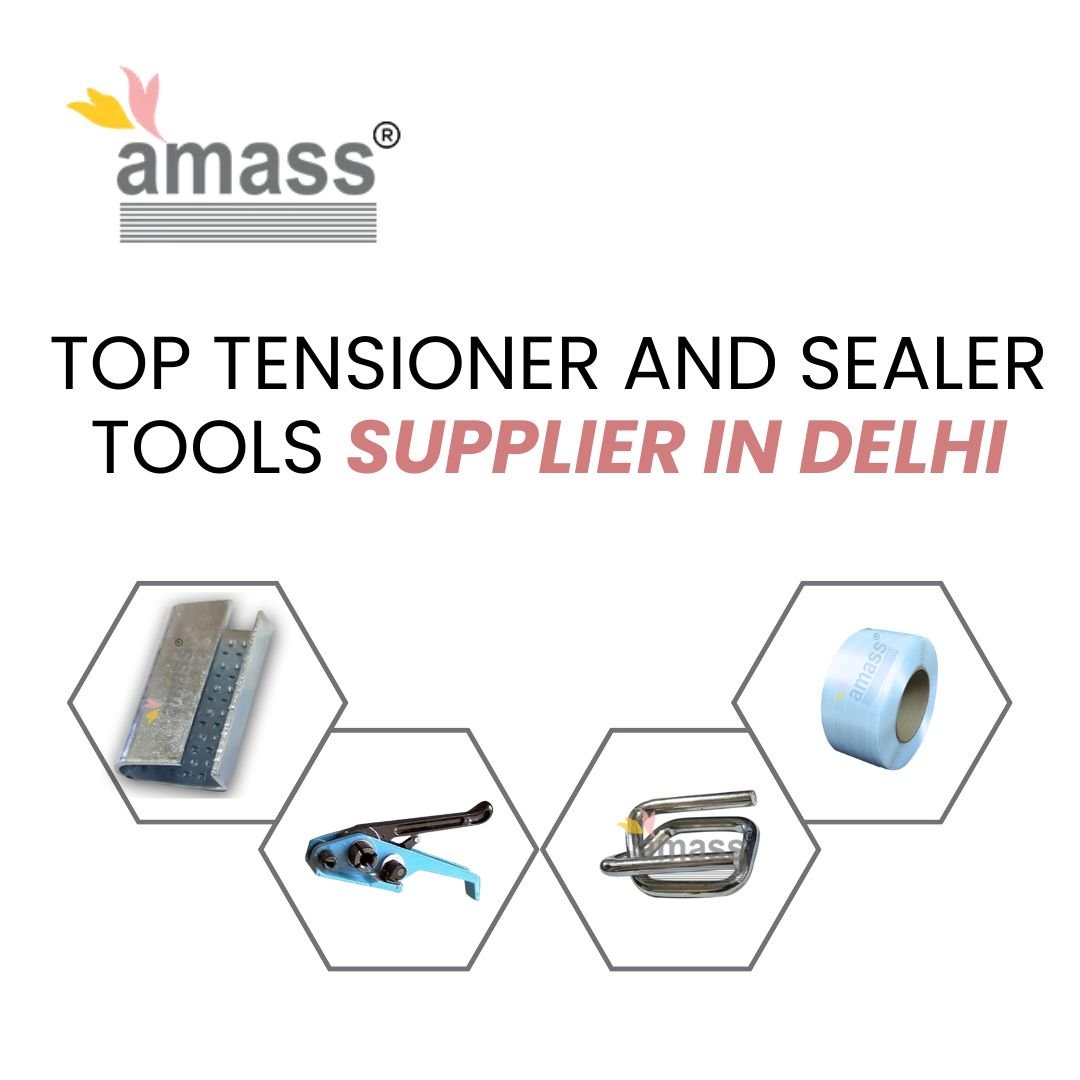
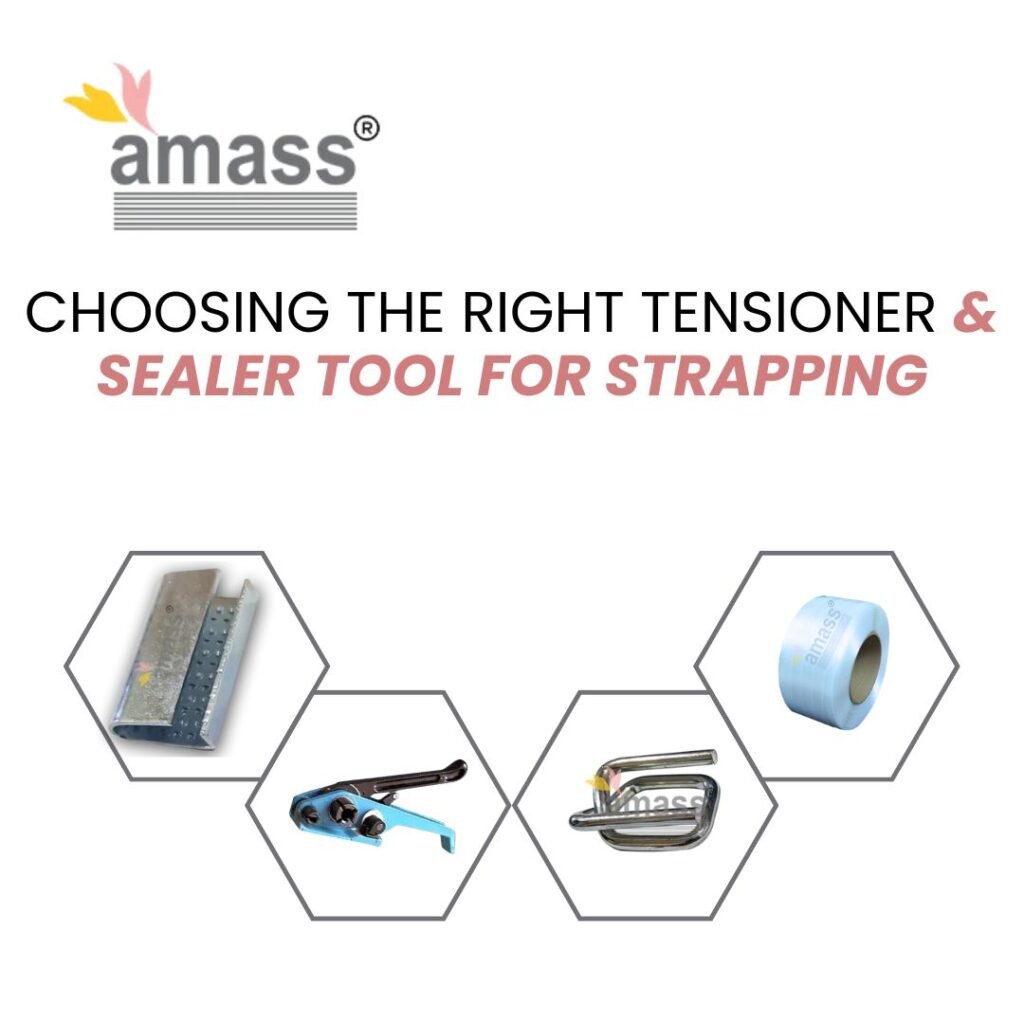
Types of strapping tools
Tensioner types
Every strap type has a matched tensioner design:
- Manual ratchet/feedwheel: grips strap surface mechanically; standard for PET, PP, and steel across low to medium volumes
- Battery-powered PET tools: auto-tension and friction-weld in one trigger pull; suited to 500–3,000 straps per day
- Pneumatic tools: continuous-duty steel and PET tensioning on high-speed or automated lines
Manual tools dominate Indian packing operations because they are portable, need no power, and cost a fraction of powered alternatives. But they also demand higher operator skill to hit consistent tension, which is where most sites fall short.
Sealer types
- Manual crimp sealers: use hardened jaws to deform metal seals around overlapped PET, PP, or steel strap ends
- Friction/vibration weld sealers: battery or pneumatic tools that fuse PET strap ends directly without metal seals
The seal is the most failure-prone part of any strapping system. A weak or off-center crimp can lose 30–50% of the strap’s rated strength at the joint, turning a 500 kg strap into a 250 kg one.
Preparing your load and strap
Strap selection and routing
Select strap width and grade based on load weight, compressibility, and transport route—not habit or availability. Route the strap around the load on a flat, straight path with no twists; twisted strap loses joint efficiency even with a perfect crimp. Overlap both strap ends by at least 100–150 mm before inserting into the tensioner.
Tool inspection and setup
Before starting any strapping run:
- Confirm the tool width matches your strap width exactly
- Check feedwheel teeth for wear or debris; clean with a stiff brush
- Inspect sealer jaws for chips or misalignment
- Test the ratchet pawl engages cleanly on the first stroke
Running a worn tool for “just one more pallet” is one of the most common packing floor habits that generates damage claims.
Step-by-step: tensioner and sealer use
Step 1: Insert strap into tensioner
Squeeze the handle or press the cam lever to open the feedwheel gap. Insert both strap layers—embossed surface facing the feedwheel teeth—then release the handle to engage grip. If the tool has a strap guide groove, seat the strap fully before applying tension.
Step 2: Apply tension
Crank the handle in full, smooth strokes. Short, jerky half-strokes skip the ratchet, under-tension the strap, and wear out the pawl faster. Stop when the strap sits snug against the load with no visible gap; on compressible loads like cartons, a slight deflection confirms adequate compression.
Do not release the tensioner until the seal is fully crimped. Operators who reach for the sealer before locking tension drop 15–25% of their target load in that one moment.
Step 3: Position and crimp the seal
Slide a metal seal over both strap layers with the open flap facing down and the smooth surface up. Position the sealer jaws squarely over the seal—centered on width and length. Squeeze the sealer handles in one full, firm stroke until the jaws close completely; you should see four visible indentations on the seal, two per strap layer.
A half-squeezed crimp that looks complete from a distance often fails a simple tug test. Train operators to count indentations, not just feel the handles bottom out.
Step 4: Cut and release
Cut the tail strap cleanly with dedicated strap cutters; leave a 50–75 mm tail beyond the seal. For steel strap, fatigue the tail by bending back and forth to break it at the seal edge rather than using cutters that can send a sharp fragment flying. Release the tensioner cam, pull the tool free, and run a quick tug test on the joint before moving the load.
Battery and pneumatic tool use
Battery PET tensioners
Thread both strap ends into the tool’s feed slot, confirm tension level on the dial or display, and pull the trigger. The tool tensions, welds, and cuts in a single automated cycle under 3 seconds. After the cycle, inspect the weld zone: a good friction weld shows a uniform, translucent bond line with no gaps or charring.
Battery tools produce far more consistent tension across a shift than manual tools because they remove operator strength variation from the equation. Sites that shift from manual to battery often reduce strap consumption per load by 10–15% simply by eliminating over-strapping that operators apply to compensate for inconsistent tension.
Common mistakes and how to fix them
Tensioning errors
- Feedwheel slipping: clean debris from teeth first; if slipping continues after cleaning, replace the feedwheel
- Early release: hold tension until sealer jaws fully close, not until you reach for the sealer
- Short strokes: use full handle travel on every pump; train new operators with a target stroke count per strap
Sealing errors
- Off-center crimp: reposition sealer jaws before squeezing; a centered seal shows equal indentation on both sides
- Weak crimp from worn jaws: inspect jaw edges weekly; replace when indentations are shallow or uneven
- Wrong seal size: seal width must match strap width within 1–2 mm; oversized seals do not grip both strap layers consistently
Safety practices for strapping tools
Operator protection
- Wear cut-resistant gloves and safety glasses on every packing shift
- Keep fingers away from the sealer jaw pivot point and the strap cut zone
- Stand to the side when applying tension to steel strap; if it snaps, recoil travels forward and back, not sideways
Load restraint standards
Apply straps in the direction of probable load movement: longitudinal straps for braking forces, transverse straps for side-shift. Inspect every joint with a tug test before the load leaves the packing station. A joint that passes a manual tug has at least 60–70% of rated strength intact; one that slips on the tug failed before it shipped.
Tool maintenance and longevity
Cleaning and lubrication
Clear strap shavings and debris from the feedwheel teeth after every shift; compacted debris reduces grip and fakes proper tensioning. Apply light machine oil to pivot points, the ratchet mechanism, and the sealer jaw hinge weekly. Keep tools dry between shifts; moisture in the ratchet accelerates corrosion and causes jamming.
Inspection schedule and replacement triggers
Replace feedwheels when teeth are visibly rounded or slipping despite cleaning. Replace sealer jaws when crimps show uneven depth or tools need extra force to close. Replace ratchet pawl springs when tension drops between strokes despite clean teeth. Running to failure rather than replacing ₹100–500 wear parts is one of the most common reasons packing lines fall behind on output.
Frequently asked questions
Does strap embossing affect which tensioner I should use?
Yes, directly. Manual feedwheel tensioners grip embossed PET and PP through mechanical tooth engagement with the strap’s raised surface pattern. Smooth strap slips on standard feedwheels and requires either a different tool or a rubber-lined feedwheel. Always match tensioner design to your specific strap surface before purchasing tools.
Can I use the same sealer for both PET and steel strapping?
No. PET sealers use serrated jaws sized for thinner, softer PET material. Steel strapping needs heavier, wider jaws and higher jaw closing force to notch or crimp harder metal seals. Using a PET sealer on steel produces incomplete crimps; using a steel sealer on PET cuts through the strap.
How many straps can I apply before a manual tool needs servicing?
Under normal daily use, quality manual PET and PP tools need feedwheel inspection at 5,000–10,000 straps and jaw inspection at 10,000–20,000. Steel tools wear faster due to harder material: inspect feedwheels at 3,000–5,000 straps. Actual service intervals depend on strap grade, operator technique, and whether daily cleaning happens consistently.
Start strapping with confidence
Tool use errors cost more than tool upgrades. Better technique on existing tools often delivers immediately better joint quality with no additional expense—the only investment is a focused training session for your packing team.
At Amass-Strap, tensioners and sealers are not sold as generic hardware. They are part of complete strapping systems matched to your strap type, load weight, and packing volume, supplied with practical operator training so your team applies them correctly from day one. Contact Amass-Strap today to book an on-site tool audit, identify the technique gaps costing you strap and joint quality, and equip your packing floor with tools and knowledge that hold up under daily industrial use.

