The Strapping Machine Manual: From Setup to Secure

Package Your Profits: The Smart Way to Choose End-of-Line Solutions
September 22, 2025
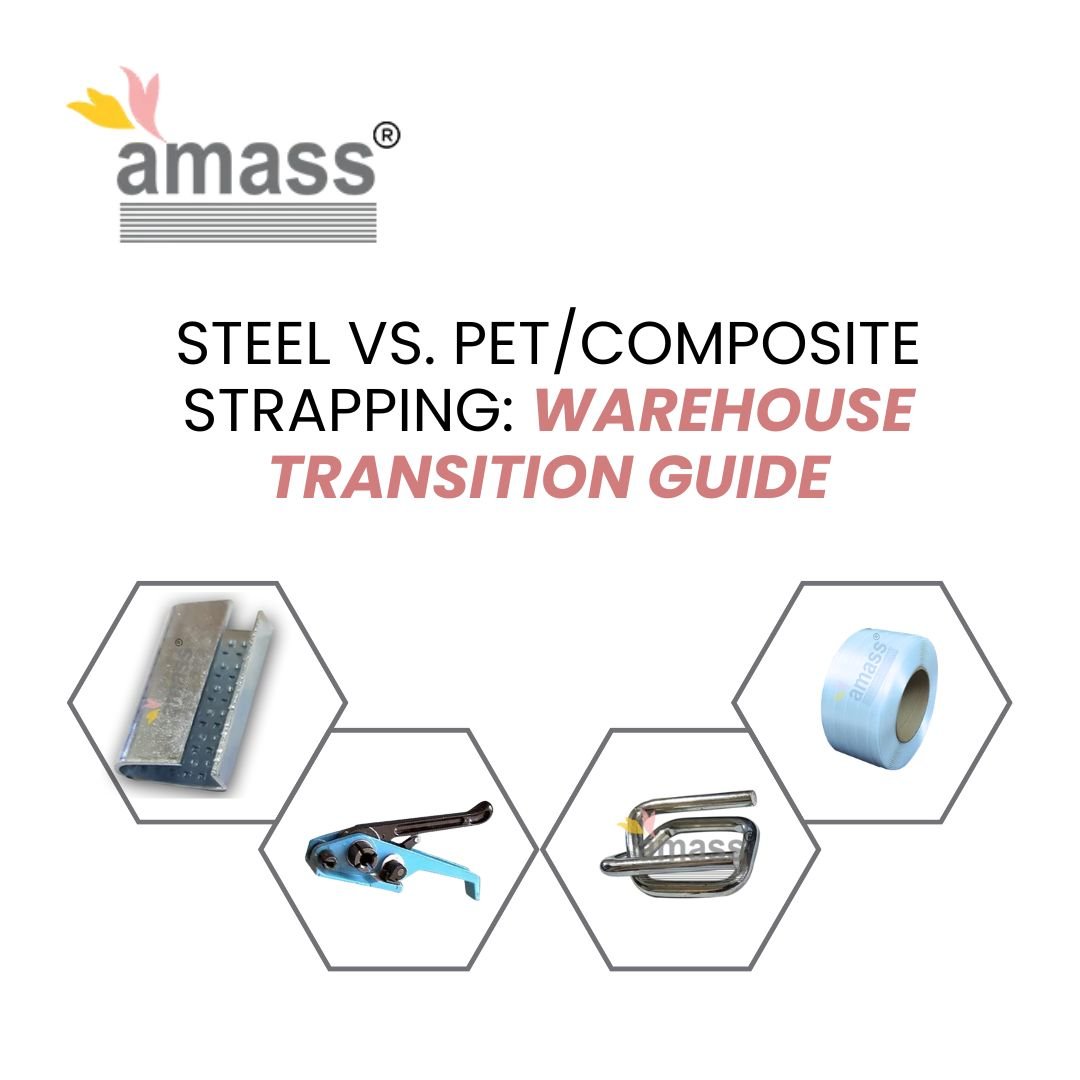
Advantages of Composite Cord Strap over Steel & Poly Strapping
October 9, 2025This is a hands-on, no-nonsense field manual for operators, supervisors, and maintenance leads who run strapping machines every day. The consistency you want—from clean welds to tension that actually holds—depends on pairing the right machine settings with certified consumables and tools, such as those engineered by Amass Strapping Solutions. That’s context, not a pitch; what follows is the method that keeps lines moving.
Safety before setup
Start with the boring stuff that saves fingers and shift time. PPE on (gloves, eyewear), hair and clothing secured, floor dry and clear. Verify guards are in place, emergency stop works, and power is properly grounded. Do not bypass interlocks. Lockout/tagout for any service beyond routine cleaning. Establish a quick daily “pre-flight”: power indicator on, no loose offcuts in the track, strap path visible, photo eye unobstructed, heater area clean and cool to the touch before startup.
Meet the machine
Most operations rely on one of three chassis: semi-automatic tabletop (manual insertion), automatic arch (hands-in/hands-out), or side-seal (good near dusty floors and uneven loads). Learn the anatomy:
- Reel & brake: governs unwinding and prevents over-spin (“bird-nesting”).
- Strap path/track: guides strap around the arch; debris here = jams later.
- Feed/tension wheels: pull in and tighten strap; worn knurling equals slip.
- Heater & press bar: fuses and compresses the strap; timing matters.
- Controls: feed length, tension, heat time, cool time, plus footswitch/auto cycle.
- Sensors: photo eye for automatic triggers, strap-present switches, door safeties.
Master the control panel before you touch a package. If you can’t recite what each dial does, you’re not ready to run.
Installation & power check
Uncrate without crushing the frame. Park the unit on a level surface with service clearance around the arch. If conveyor-integrated, confirm a clean gap and stable transfer height. Power requirements matter (voltage, amperage, grounding)—guessing here is how you cook boards and void warranties. On first power: test the E-stop, cycle with no strap to confirm press bar motion and sensor behavior, and verify fans/vents aren’t blocked.
Strap selection: PP vs PET (and why it isn’t trivial)
Polypropylene (PP) is lighter, more forgiving, and commonly used for cartons. Polyester (PET) brings higher retained tension and better resistance to creep, making it the go-to for heavier cartons and unitized loads. Choose width and thickness within the machine’s spec; undersize strap whips around tracks, oversize drags and misfeeds. Quality cues that affect outcomes: tight thickness tolerance, clean edges, consistent embossing, and low dust. Store coils in a dry area away from heat/UV; humidity and temperature swings warp coils and sabotage feed consistency. Treat strap like a component, not a commodity—poor strap makes great machines look average.
Loading & threading (first-time setup)
Mount the coil on the dispenser with the strap paying off in the correct direction (check the arrow). Set brake tension so the reel doesn’t over-spin when the machine stops. Thread through guides and into the head per the schematic, then jog the feed to confirm the loop around the track. Run a “first strap” dry cycle around an empty package simulator (a scrap carton works): the loop should form cleanly, the strap should cut and retract without snagging, and the machine should be ready for the next cycle without manual persuasion.
Dialing in the core parameters
You’ll balance four dials like a sound engineer:
- Feed length: enough to encircle the package with a small overlap; too short and the weld area starves; too long and the loop drops.
- Tension: tight enough to resist shift, not so tight that you crush or buckle cartons. Watch for whitening or deformation—signs you’ve gone too far.
- Heat time: hotter isn’t always stronger; excessive heat melts material away and weakens the joint.
- Cool time/press: hold long enough to crystallize the weld; releasing too early creates peel-apart joints.
Log parameter sets by SKU group (light cartons, dense cartons, bundles). Future you will thank you.
Operating modes that match the work
Manual & footswitch are perfect for irregular items and training. Automatic/Photo eye supports rhythm: place, trigger, remove, repeat. For multi-strap programs (parallel or cross-strap), set spacing so loads don’t bow and labels remain readable. Keep operator cadence steady; starved stations invite improvisation (and errors). Upstream, align label orientation with strap paths—straps over labels lead to misreads and chargebacks.
Preventive maintenance that actually prevents
Think three horizons:
- Daily: blow out dust from the strap path, wipe the heater area (when cool), remove offcuts, check tension repeatability on a test carton.
- Weekly: clean feed/tension wheels and tooth plates; inspect belts, brake, and photo eye lenses; verify door safeties and E-stop.
- Monthly/100k cycles: replace or re-Teflon the heater surface, check press bar springs, tighten fasteners, inspect wiring for chafe, and calibrate the tension reference.
PM is cheaper than downtime on a peak day. Pencil it in like a customer appointment.
Troubleshooting by symptom (fast path to green lights)
- Strap won’t feed: clear the track; confirm reel brake isn’t clamped shut; check the strap is threaded over, not under, the brake roller; clean the feed wheels; verify feed length isn’t at minimum.
- Loose strap: bump tension up in small steps; inspect wheel wear; confirm press bar timing; check for slip due to dusty strap.
- Weak/messy weld: clean the heater surface; reduce heat if the joint looks bubbly or crystallized; increase cool/press time if the joint peels apart; ensure consistent overlap.
- No cut: check blade sharpness and cut timing; verify clamp pressure.
- Frequent faults/overheat: confirm fans/vents are clear, duty cycles are realistic, and fuses/relays are healthy. Log error codes and link them to fixes—tribal knowledge should be written, not whispered.
Quality control: testing the joint (and proving it)
Adopt a simple acceptance test: visual check (uniform bead, no voids or burns), then a bend/break test at the seam. Record pass/fail with parameter settings and operator initials in a run log. For high-throughput lines, sample per shift or per X pallets. Retain failed samples for pattern analysis—clusters often trace back to a single drifted setting, clogged track, or a worn blade.
Operator SOPs & changeover discipline
Post a laminated quick-start card at the station: pre-flight → cycle → inspect weld → clear table → repeat. During strap width/thickness changes, re-set guides, adjust tension and heater timings, run three validation cycles, and only then release to production. Train to certification, not osmosis. Shadowing and sign-offs reduce “creative” adjustments that quietly erode quality.
Integration with conveyors, side-seal, and control signals
When tying a machine into a conveyor, mind handoff stability and keep a clean gap—packages should land square and centered under the arch. Side-seal bodies shine when floor dust, debris, or drip risk would foul a bottom-seal head. For automated lines, use the I/O handshake: in-position, cycle start, fault, and out-of-strap signals. During commissioning, watch these signals live; many “mystery” stops are simply timing disagreements.
Comparative advantages that matter in the real world
Here’s what separates a line that hums from a line that grinds:
- Consistent strap spec: tight width/thickness tolerance equals fewer jams and more predictable welds.
- Clean edges & emboss: better grip at lower tension, less slippage, less whitening.
- Retained tension: especially with PET on dense packs, where creep steals safety margin.
- Low particulate: less dust = fewer photo eye false trips and cleaner heaters.
- Traceability & documented lots: when something drifts, you can isolate the culprit in minutes, not days.
These aren’t “nice-to-haves.” They’re the difference between hitting the truck and paying overtime.
Use cases & results (illustrative)
- Carton bundling at a 3PL: Standardizing PET strap and a documented parameter set cut rework by a double-digit percentage and stabilized cycle time during peak hours. The quiet win: fewer mid-shift adjustments.
- Humid export lane: Switching from low-spec PP to higher-retained-tension PET reduced strap slackening over ocean transit. Fewer claims, fewer wrap-and-pray interventions at the dock.
- E-commerce smalls line: A weekly PM cadence (clean track, inspect blade, verify photo eye) cut random jams dramatically; output rose with the same headcount, simply because stoppages fell.
None of these require exotic gear—just disciplined pairing of machine settings, strap selection, and maintenance.
Buying & stocking philosophy (save money by not being cheap)
Stock wear parts like you stock printer toner: blades, Teflon/heater covers, feed/tension wheels, springs, and common sensors. Keep two coils of each production strap spec near the machine and the rest in climate-safe storage. Write the reorder point on the wall, not just in someone’s head. For multi-site ops, standardize strap SKUs and parameter sheets—consistency is a force multiplier.
Implementation roadmap (build without breaking today)
- Discovery: map SKUs, package weights, and target tensions; gather current fault logs; photograph every jam point.
- Pilot: choose one machine and one SKU family; standardize strap, document parameters, train operators; measure the before/after on rework, jams, and cycle time.
- Scale: roll templates to similar stations; adjust only where data forces the change.
- Stabilize: formal PM, run logs, error code playbook, and weekly stand-ups to review drift.
- Optimize: tune multi-strap programs, align label orientation, and integrate signals to upstream/downstream equipment.
If a change only works on Tuesdays at 2 p.m., it doesn’t work—revisit assumptions.
Quick reference: the operator’s cheat-sheet
- Clean path, cool heater, clear sensors.
- Correct strap, correct threading, sensible brake tension.
- Feed length just right, tension progressive, heat/cool matched to material.
- Inspect welds early in shift; log parameter changes.
- When in doubt: clean first, then adjust.
Closing the loop
A strapping machine is a simple promise engine: put strap in, get secure packages out. The gap between promise and reality is almost always process—the tiny, repeatable choices that add up to velocity and reliability. Codify those choices and your line starts to feel boring in the best possible way: predictable, quiet, on time.
Final note: the best machines still rely on the quality of what they run. If your goal is repeatable weld strength, stable retained tension, and fewer mid-shift surprises, pair your setup with certified PET/PP straps, compatible seals and buckles, and proven manual tools from Amass Strapping Solutions—then hold every shift to the same disciplined playbook. That’s how you move from setup to secure, and stay there.


